Tire Tech Education - Tubeless Tire Setup
Posted by Steve on 11/22/19
Last modified: 11/16/21
Tubeless tire setups have proven their usefulness in nearly every corner of cycling, winter riding included. Going tubeless involves mounting a tubeless-ready tire to a tubeless-ready rim and filling it with a liquid sealant designed for bike use. This allows you to ride with lower tire pressure without worrying about a pinch flat that can ruin your tube. Lower tire pressure is beneficial for winter riding because it puts more of your tire tread in contact with the ground, providing more traction. Because the sealant in a tubeless tire can plug small punctures, you’re also less likely to have to stop to patch or replace a tube on a cold ride
In this post, we’ll cover how to set up tubeless tires. Watch our accompanying video below for a visual walkthrough of the process.
What To Consider Before Going Tubeless
Although tubeless setups come with a few big benefits, there are a few tradeoffs. Keep these things in mind before you make the decision to go tubeless:
Pros
- No pinch flats, and likely fewer puncture flats due to the addition of sealant
- Lower tire pressure improves ride quality and gives you a larger contact patch for better traction
- Many tubeless setups weigh less than those with tubes installed
Cons
- Tubeless takes a bit longer to set up than installing a tube
- Tubeless setups require occasional sealant refills
- Tubeless-ready rims and tires are required — most modern rims and tires are good to go (including all 45NRTH tires), but always check before you buy
- Tubeless doesn’t completely eliminate the need for tubes — you should still carry a tube for emergencies
Getting Started
The first thing you’ll want to do is make sure you have tubeless-ready wheels and tires. Tubeless-ready products are typically noted as “tubeless compatible/ready.” If in doubt, ask the manufacturer.
What does tubeless ready mean?
- Tubeless-ready rims have a few defining features:
- A deep center channel to allow tires to be installed and removed more easily
- A high bead seat shelf, which creates better contact with the tire bead to lock it to the edge of the rim
- A tubeless-ready rim strip or tape is added to seal off the spoke holes in the rim, which prevents air and sealant from leaking out
- A tubeless-ready valve stem creates an airtight seal to allow air into the tire but prevent leakage

If your rims are not tubeless-ready, you may be able to convert them for tubeless. However, it can be a challenge, so consult your local bike shop for guidance.
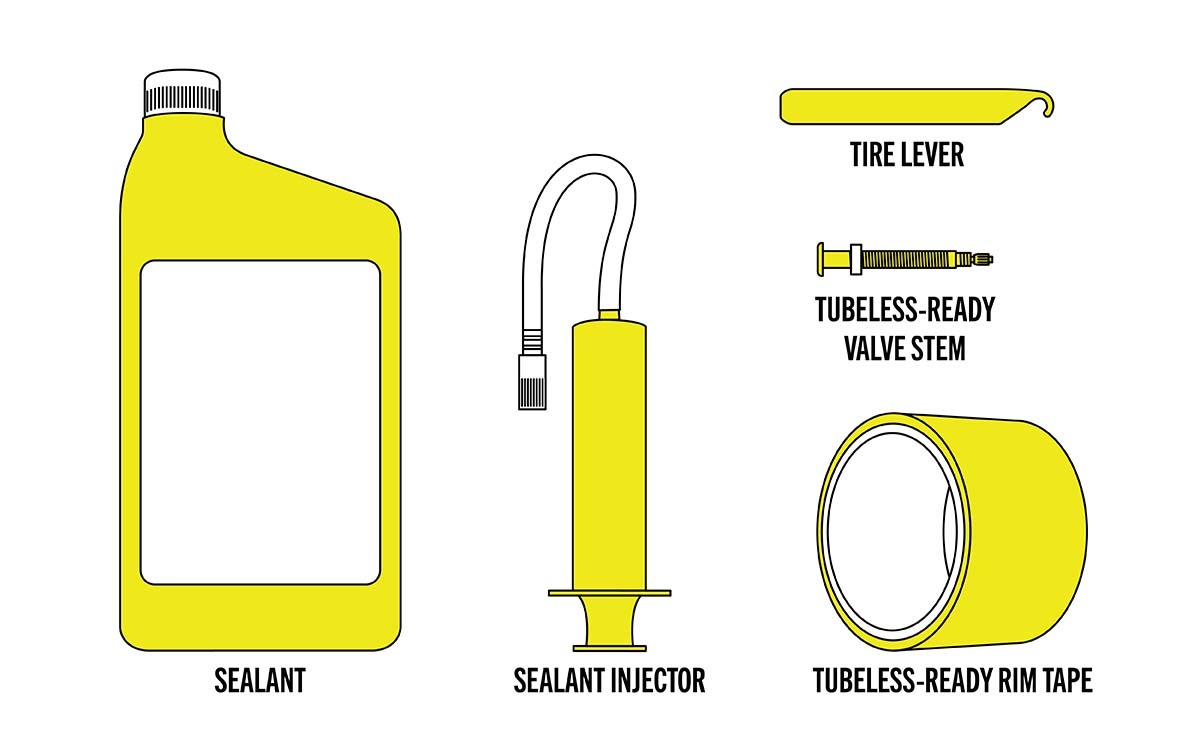
Once you’re ready to dive in, you’ll need the following:
- Tire lever
- Sealant (some manufacturers offer cold-weather formulas)
- Sealant injection tool (optional)
- Tubeless-ready tape and valve stem (if your wheel isn’t already set up to run tubeless)
THE PROCESS
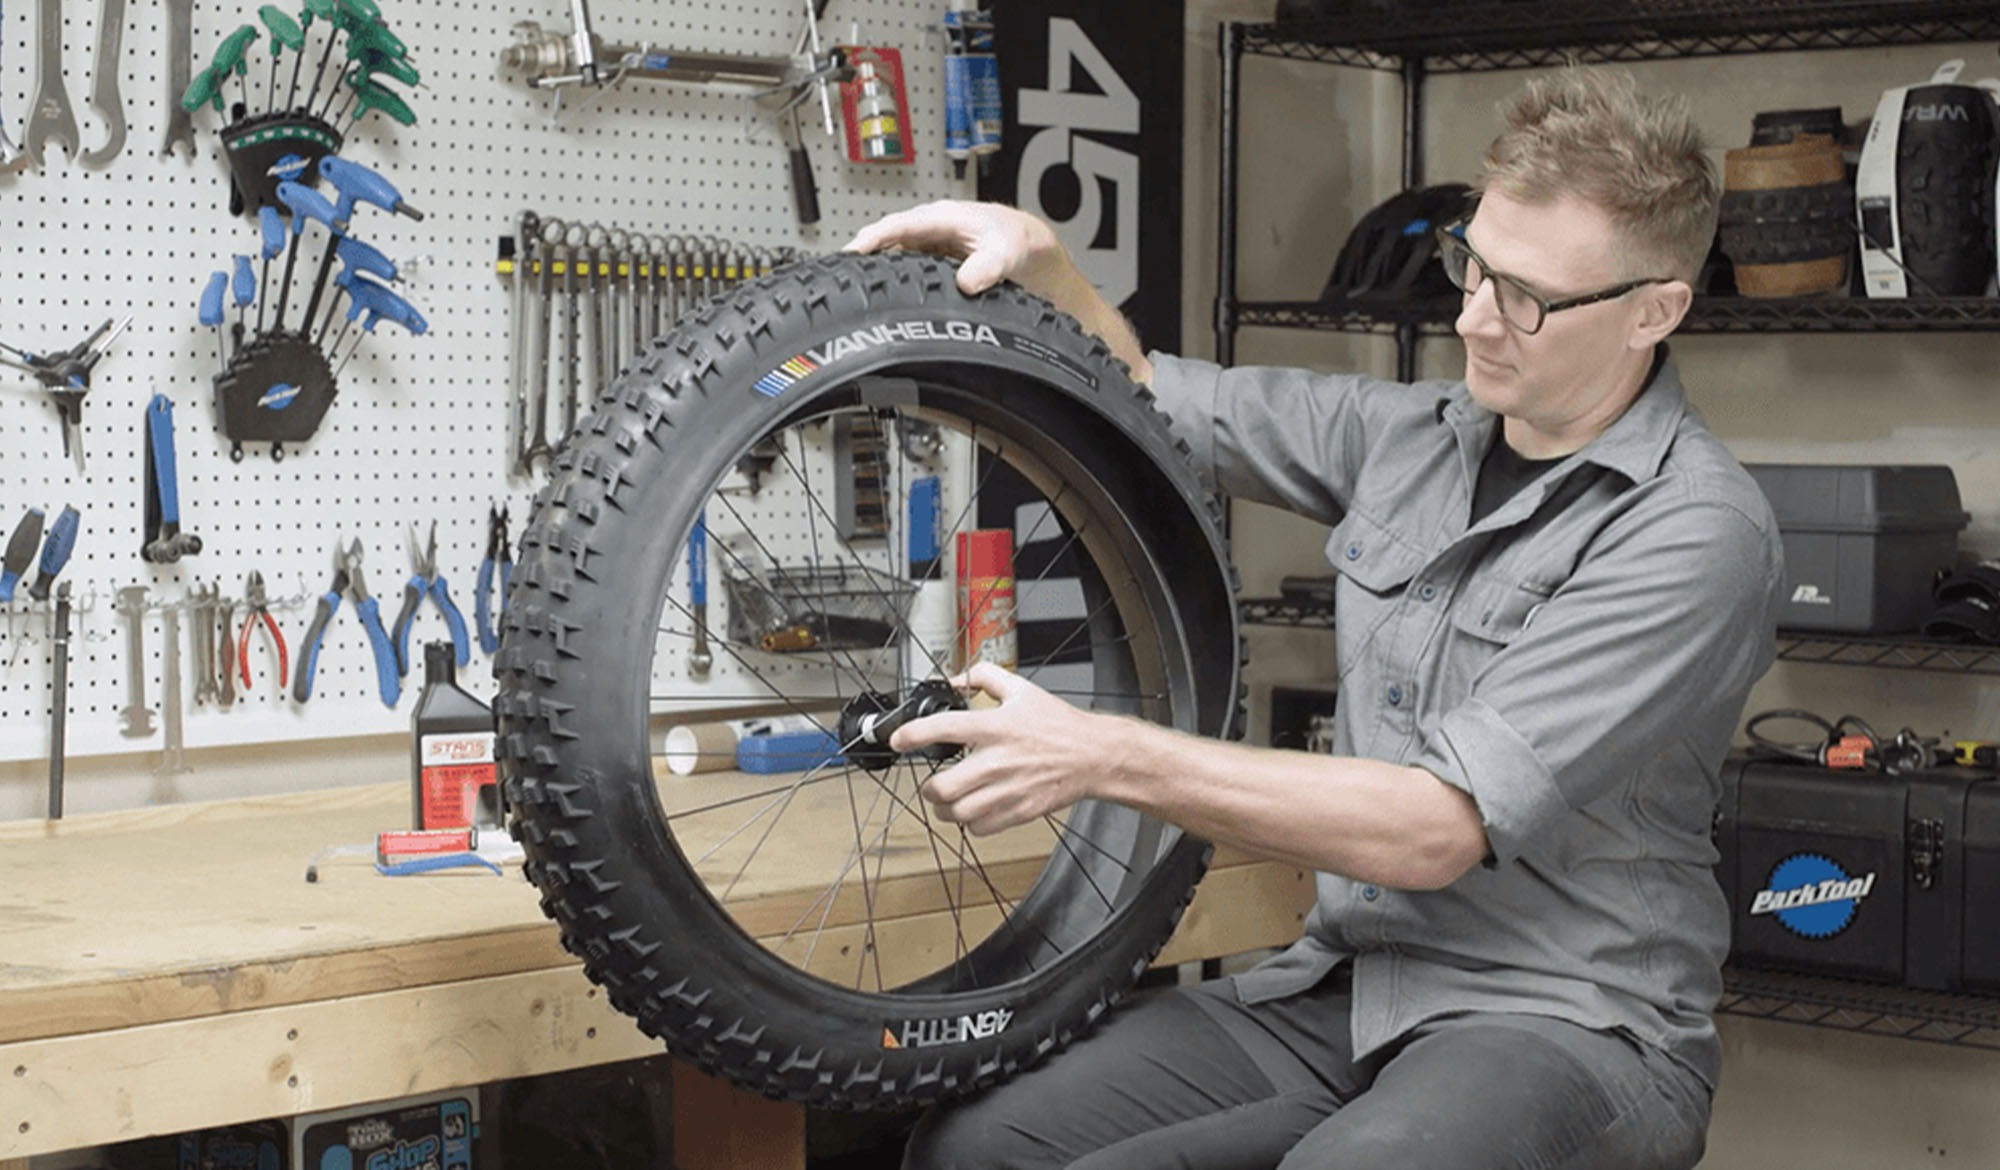
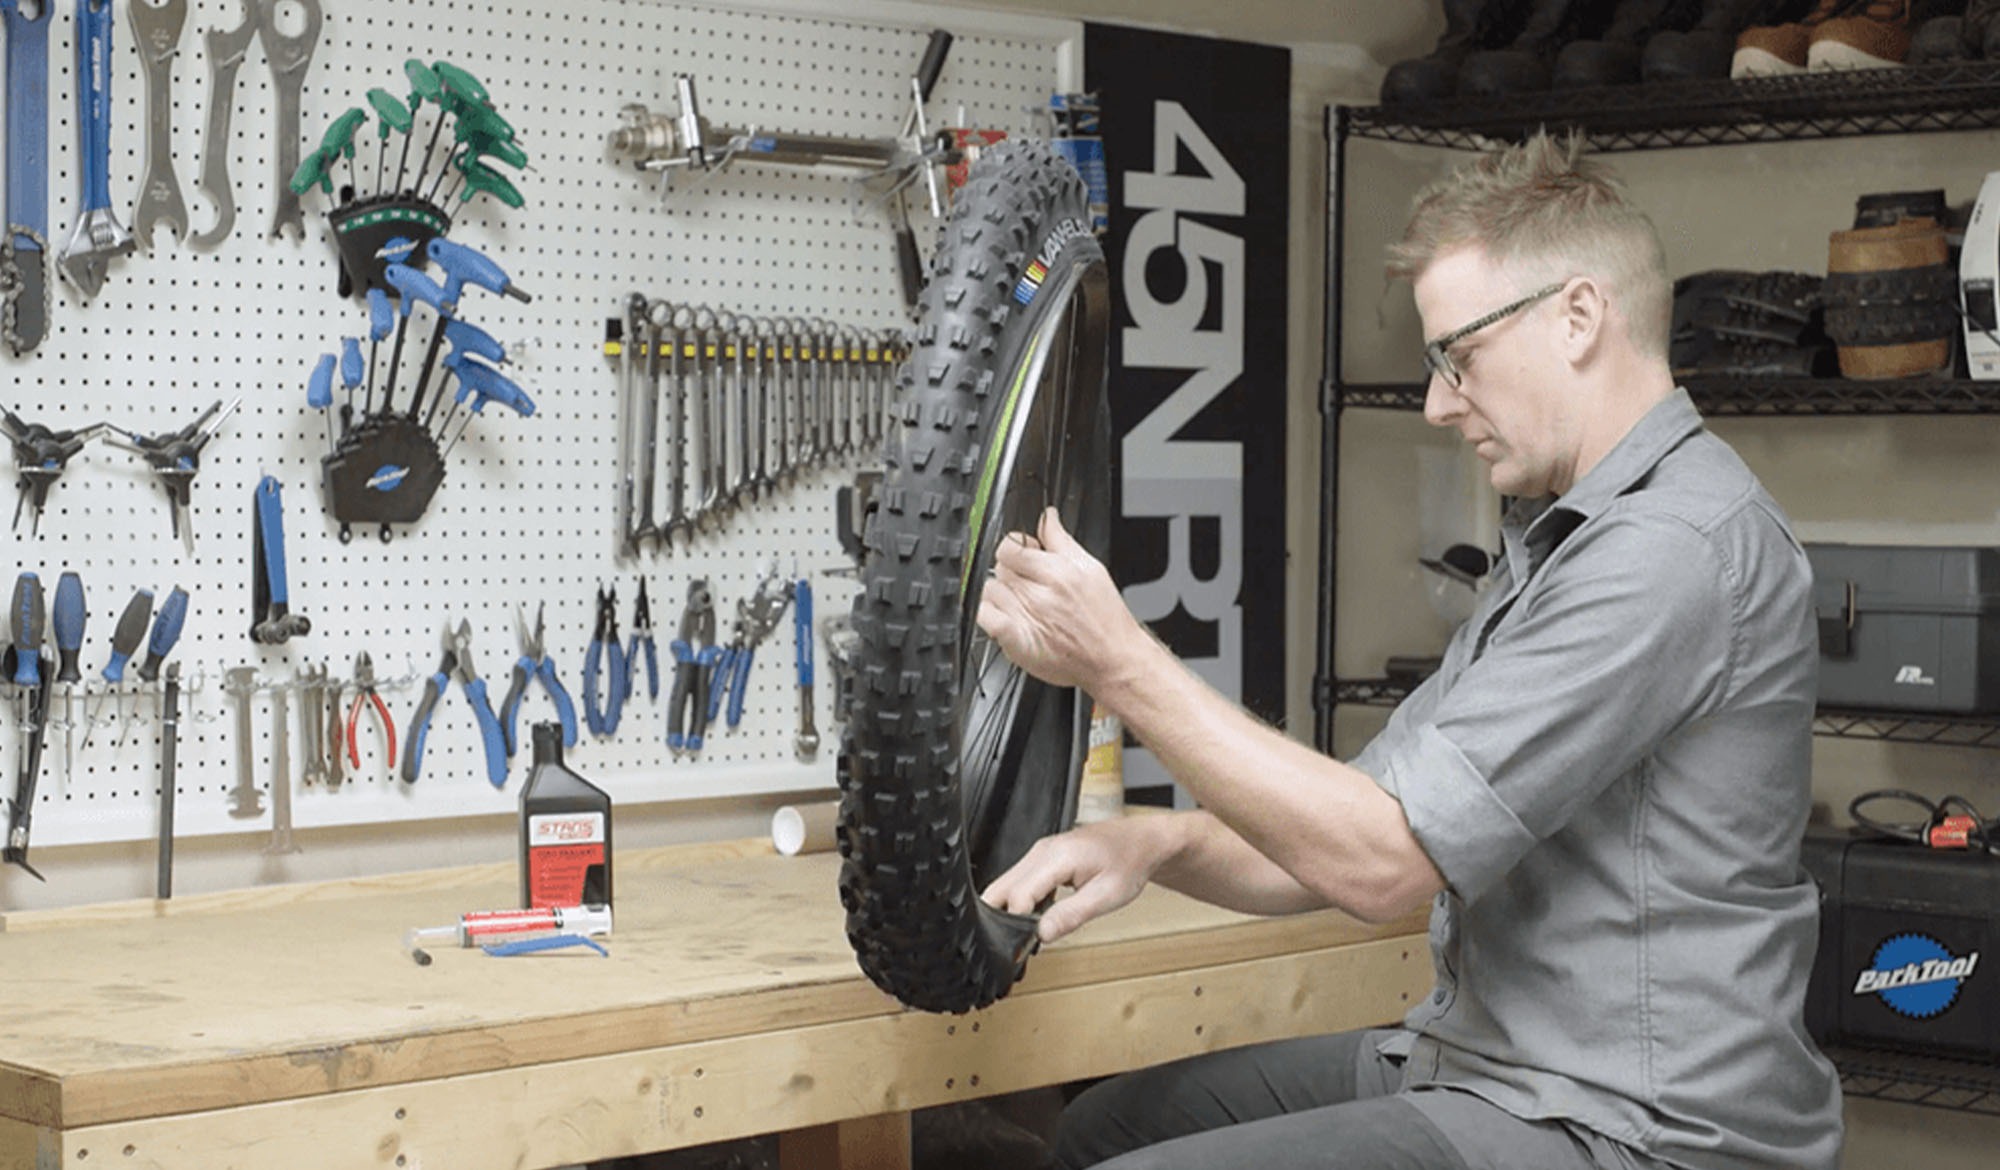
Step 1: With the wheels removed from your bike, place the wheel completely inside the tire, ensuring that the tire rotation matches the direction of wheel travel.
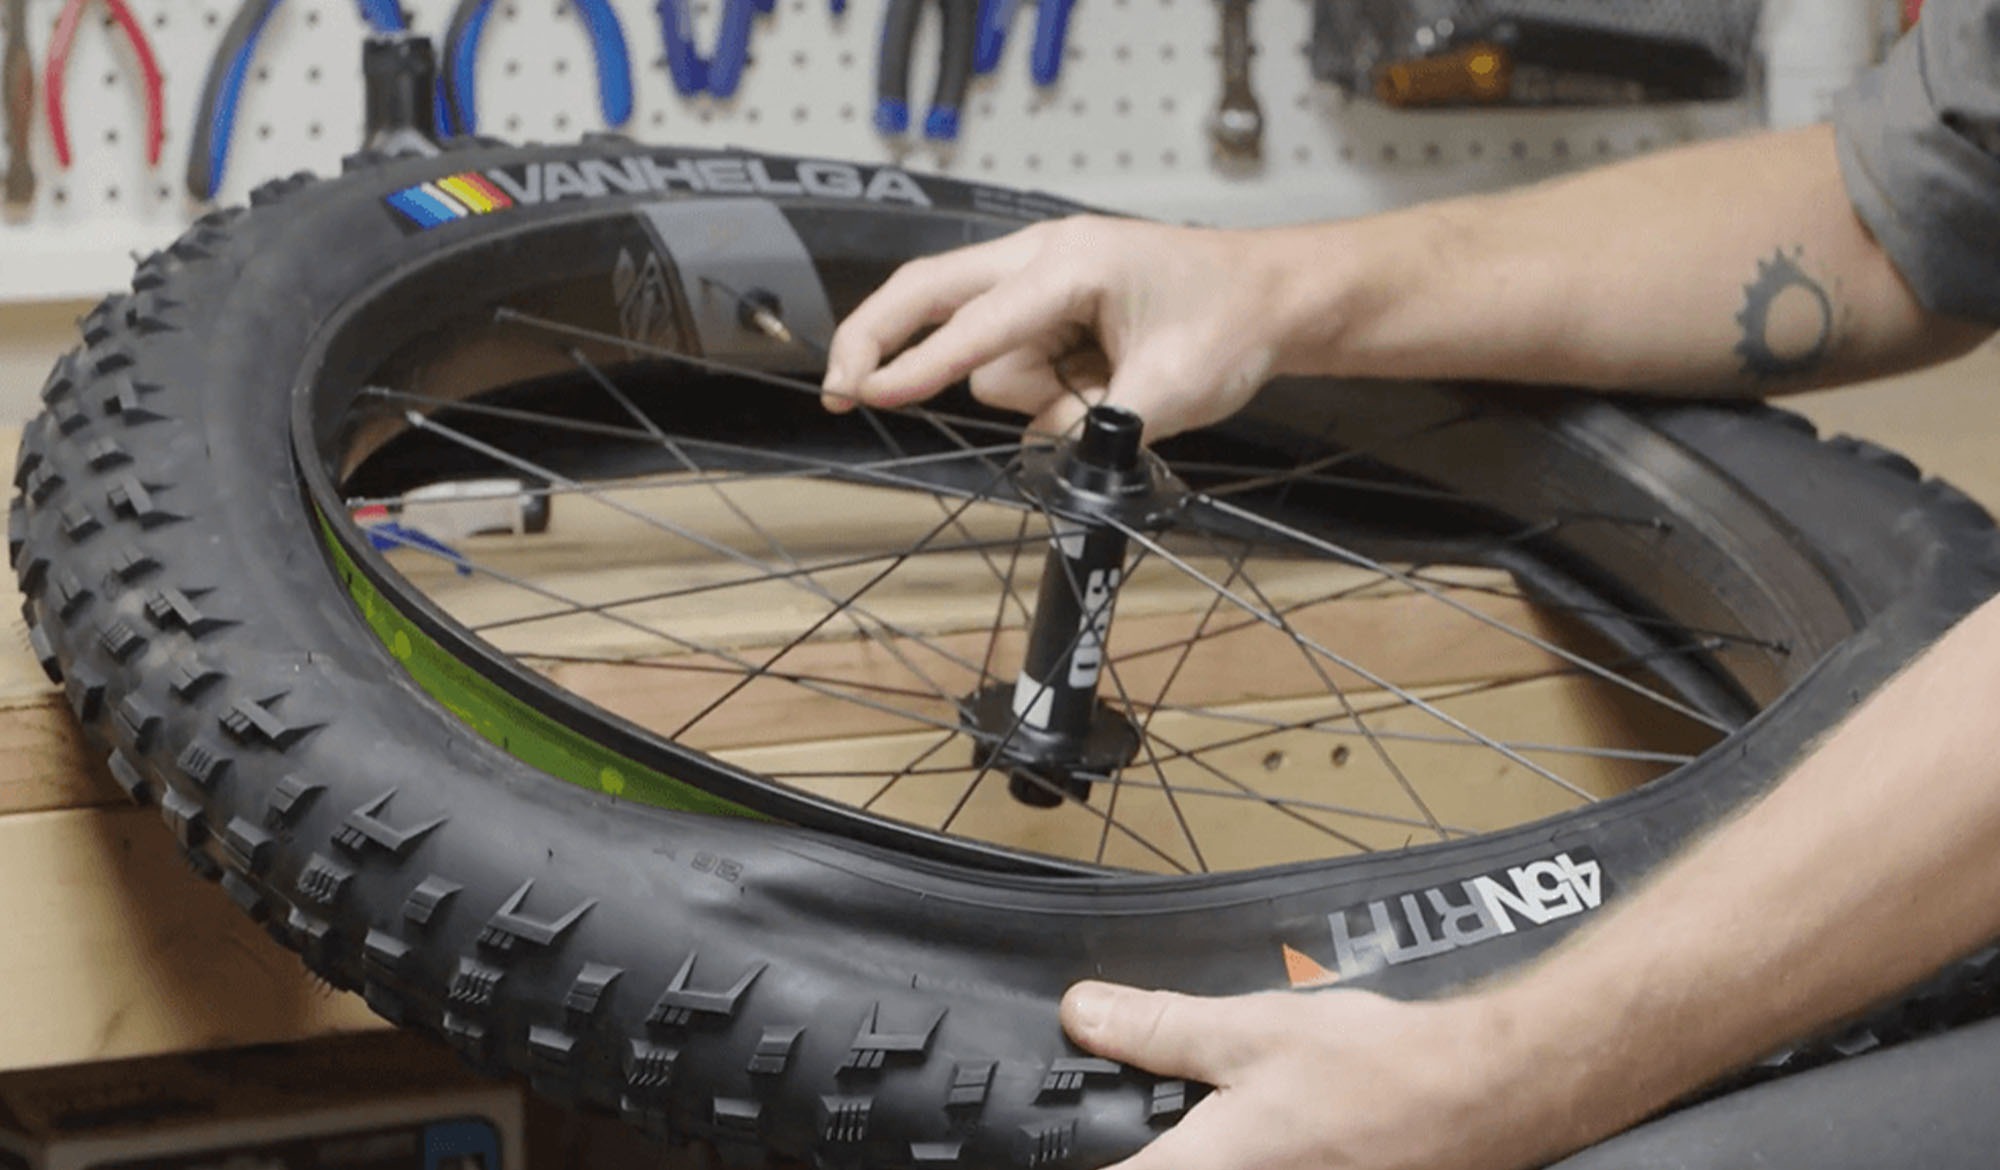
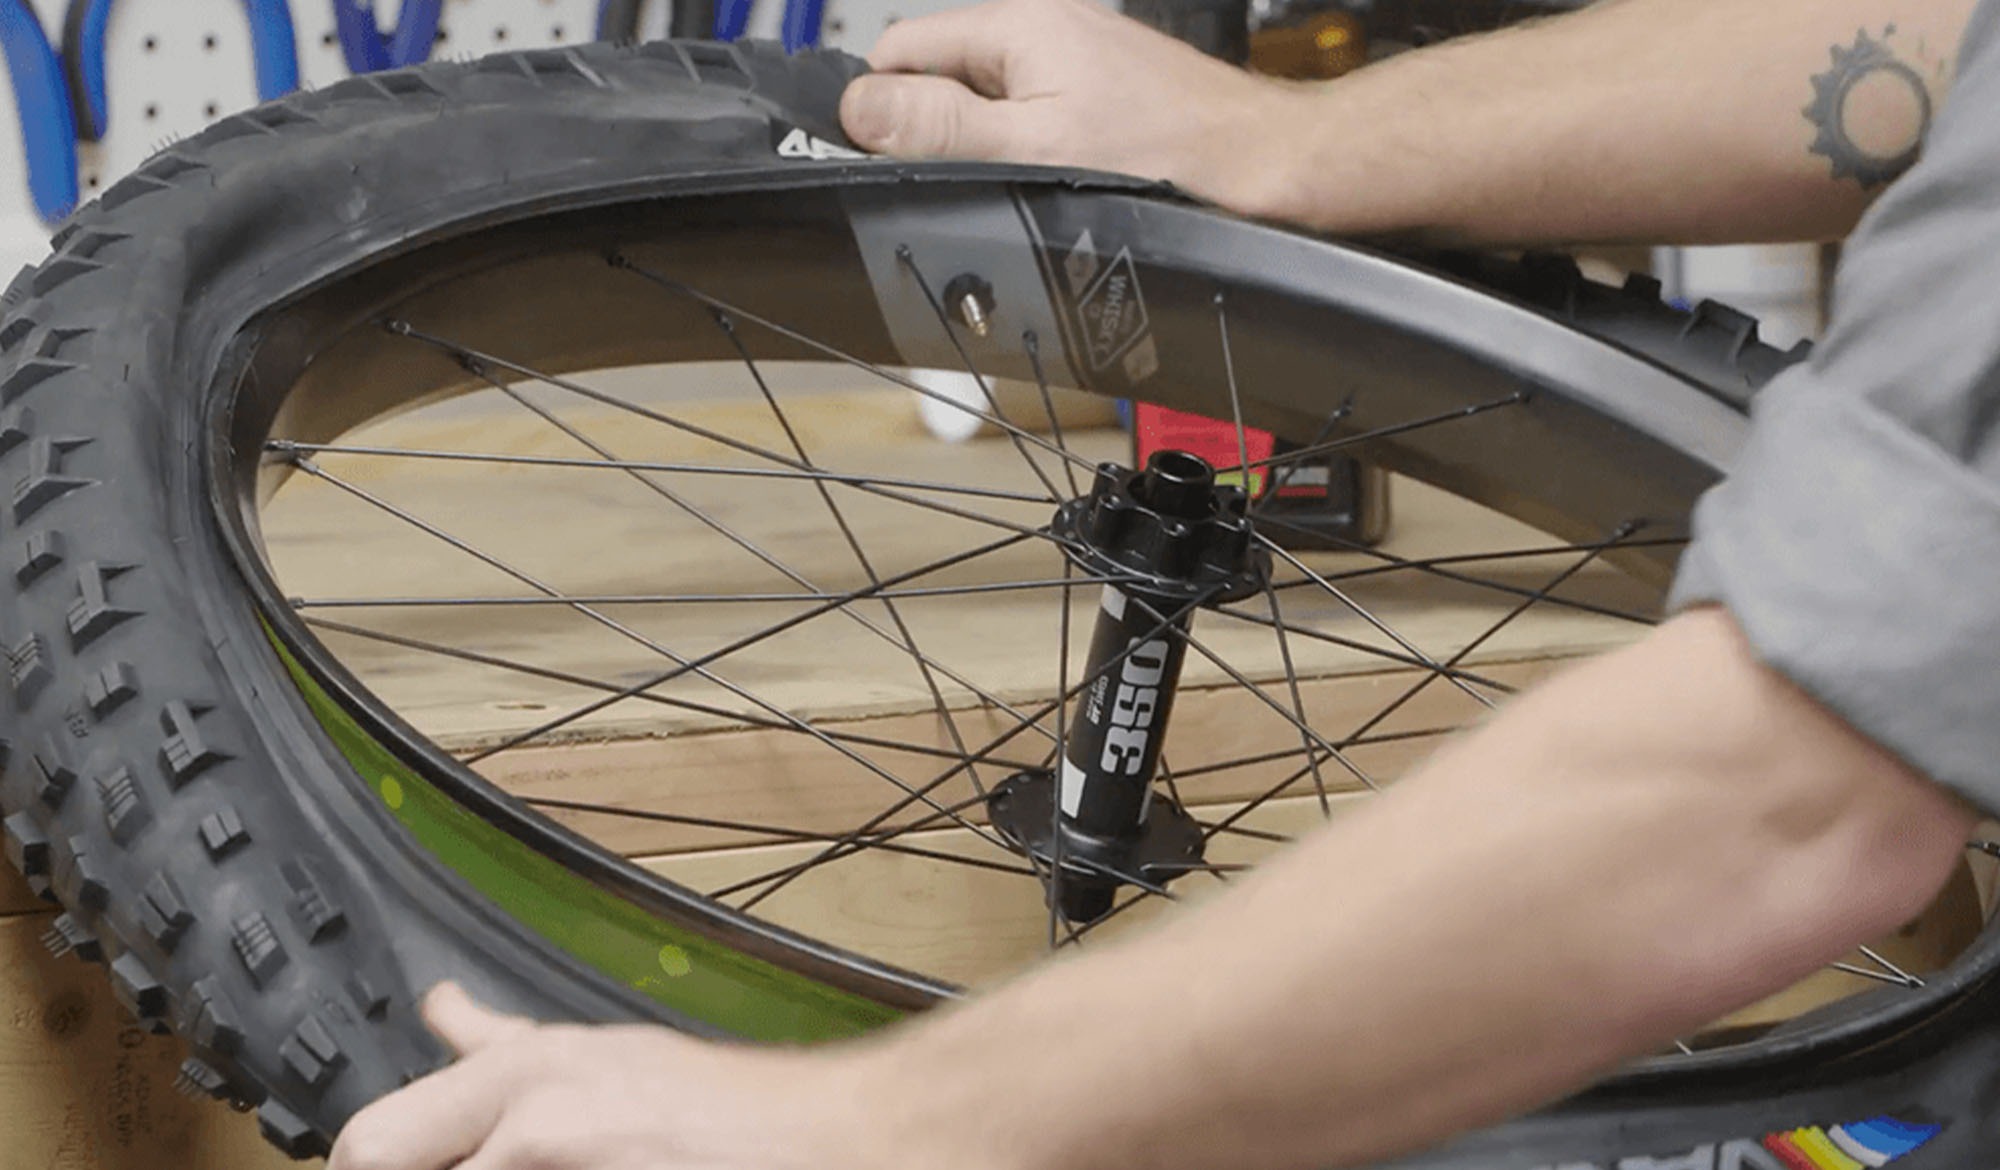
Step 2: Push one side of the tire bead onto the rim’s center channel by slowly edging the tire on as you work around the wheel. This step can be a little bit tricky — make sure that the tire bead is in the center channel all the way around, as this helps the tire go on more easily without a tire lever.
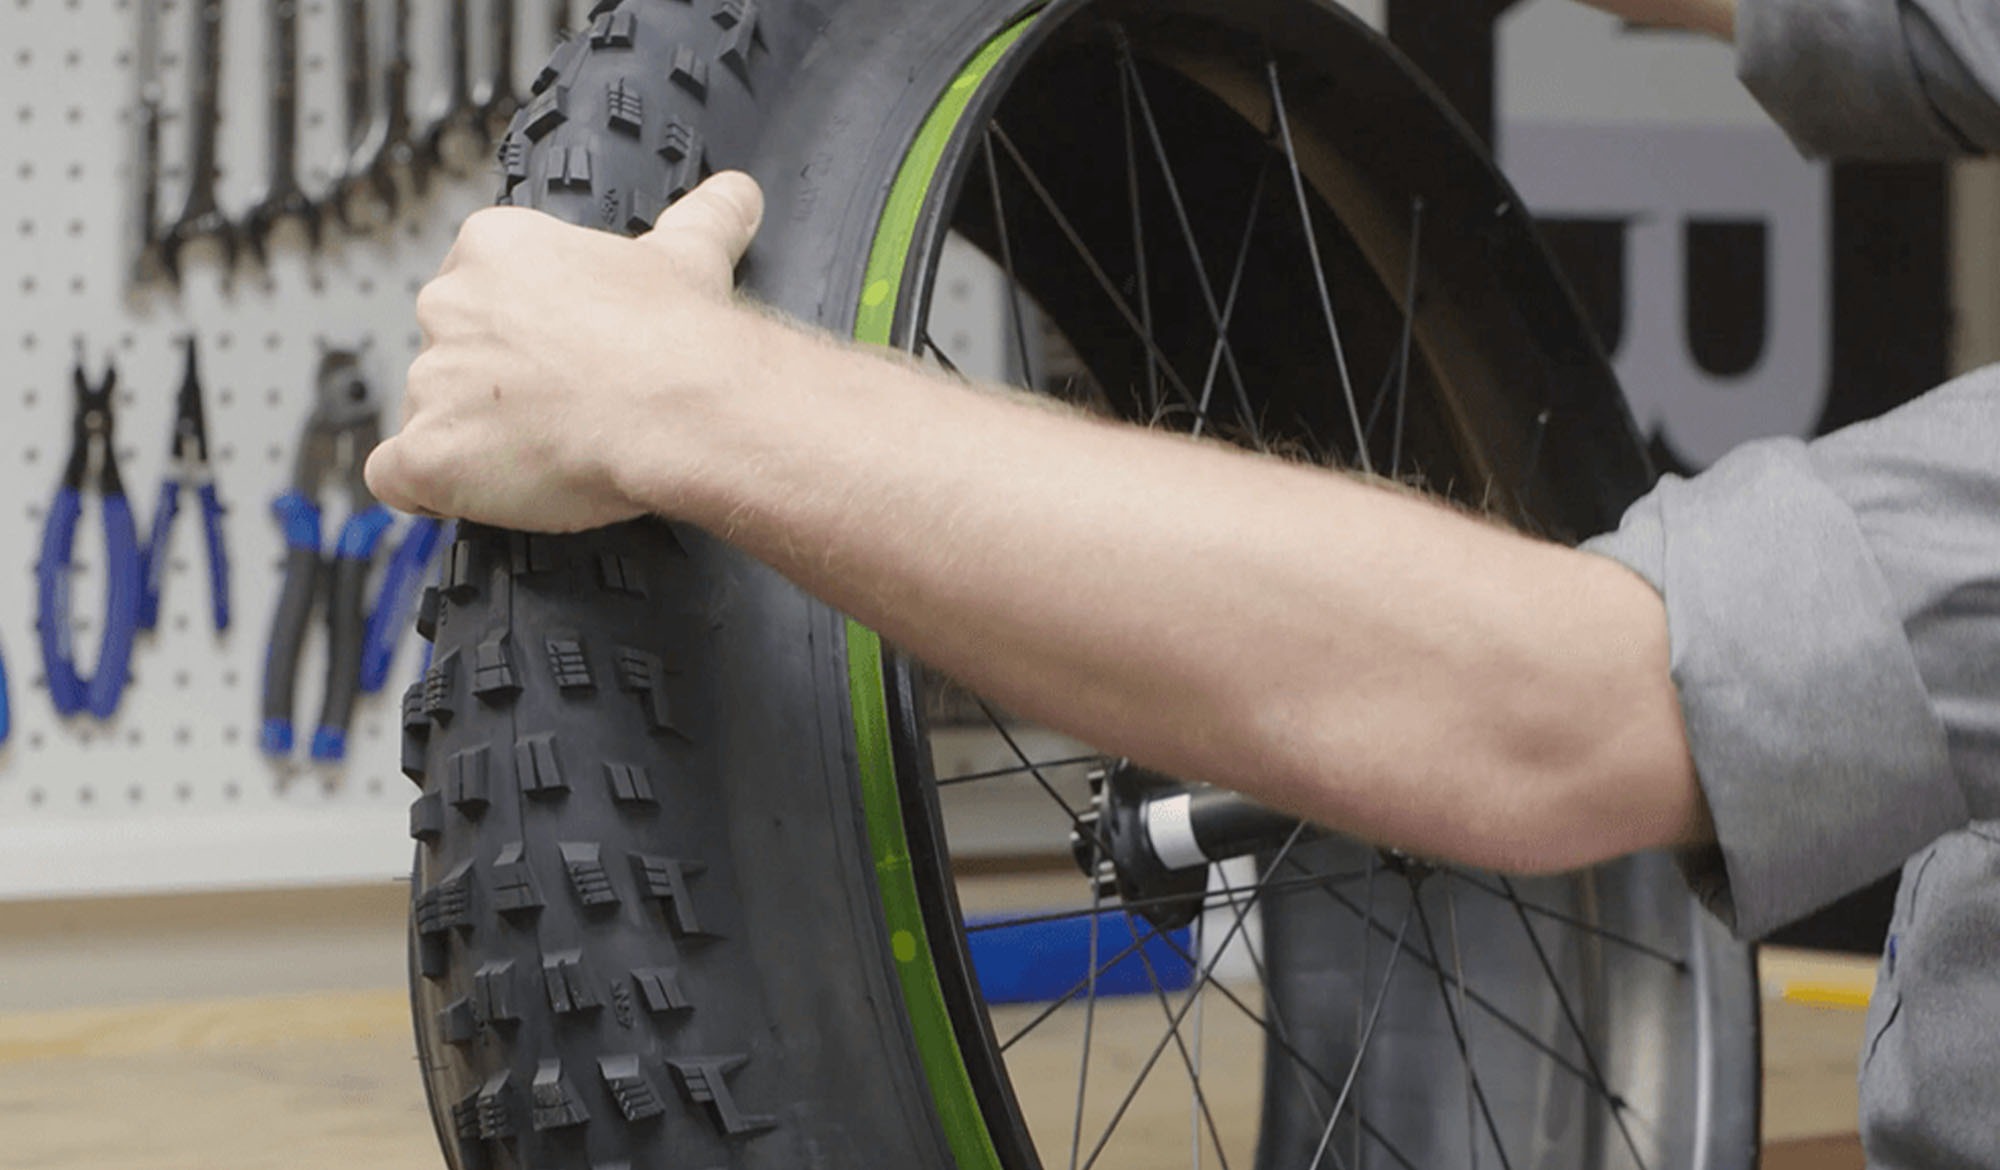
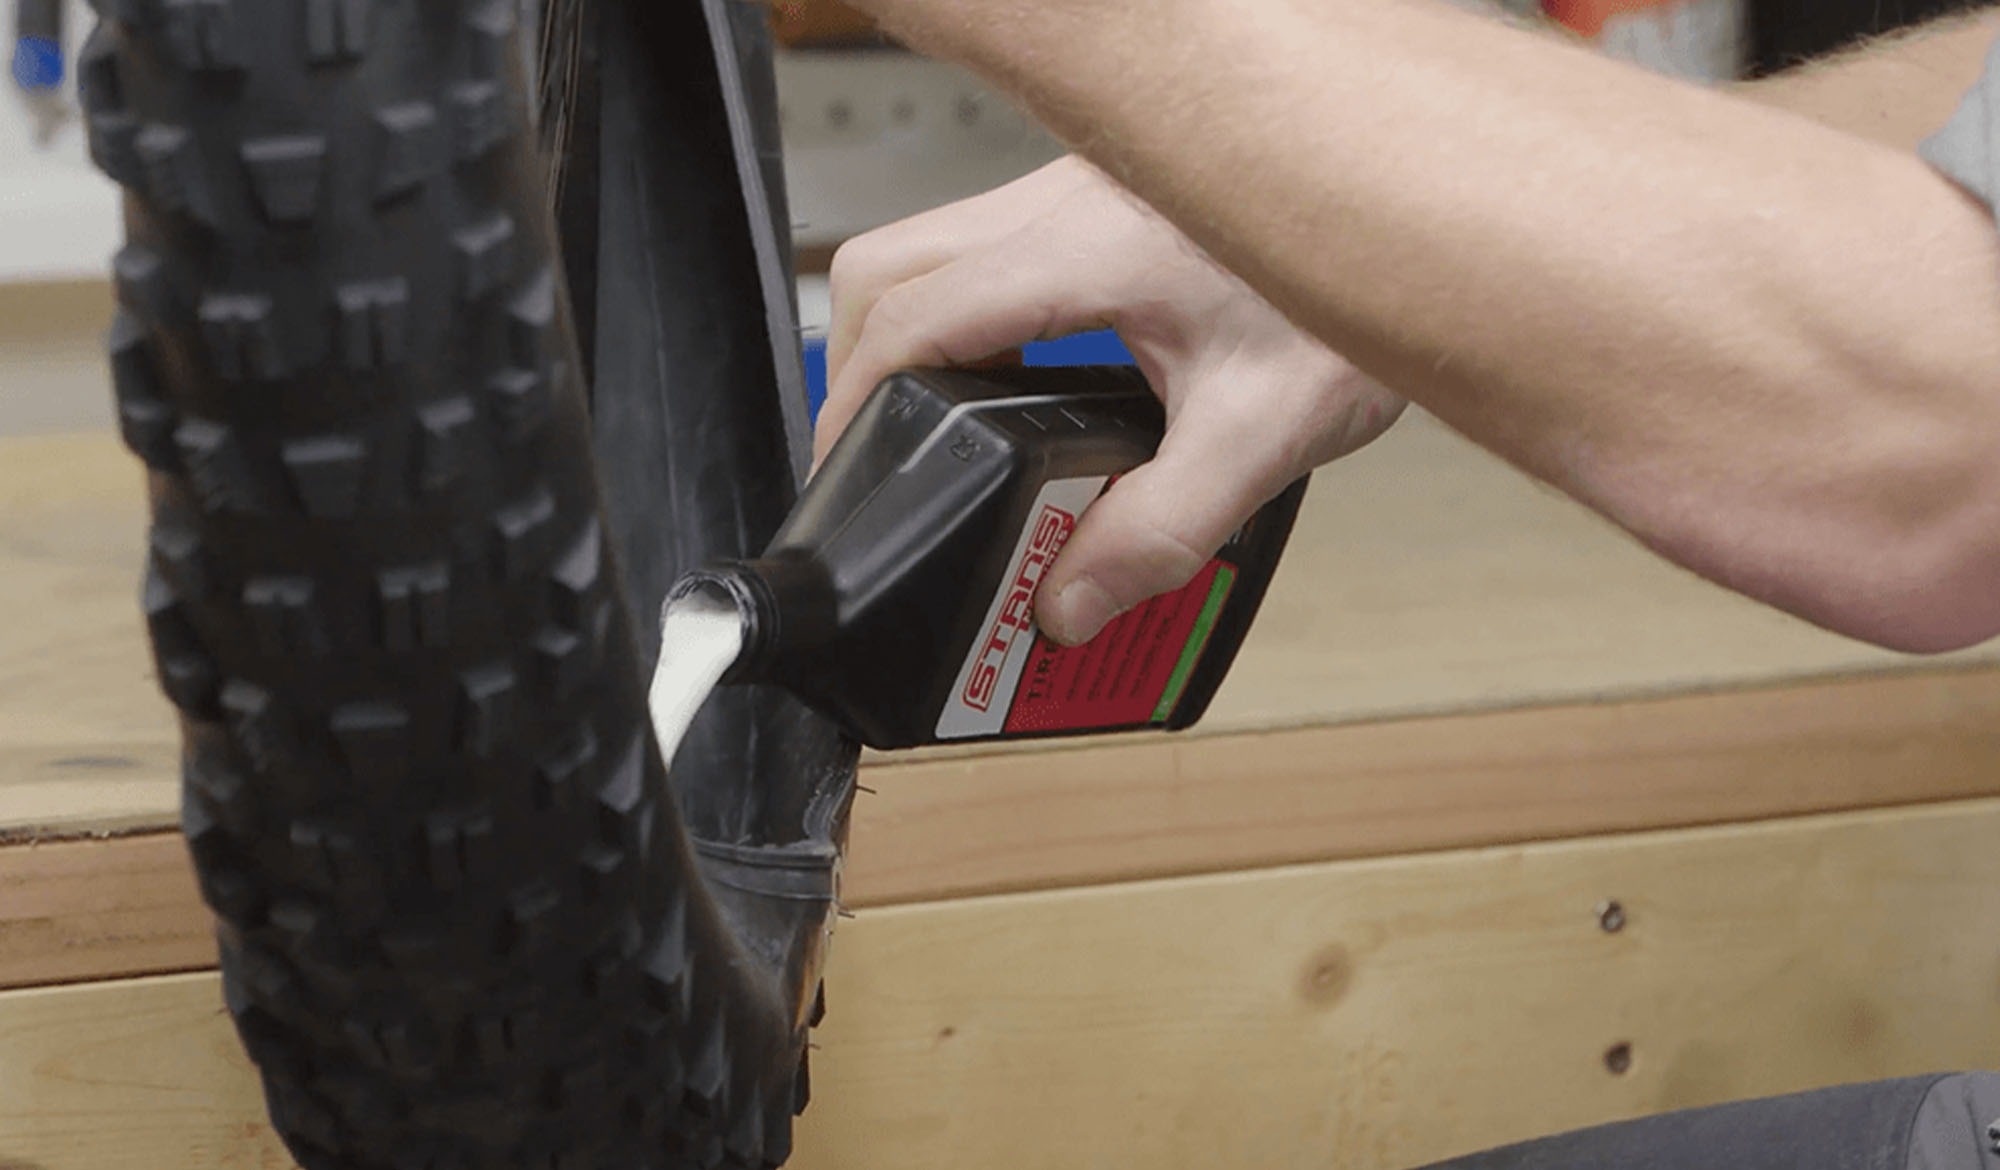
Step 3: Flip the wheel over and begin pushing the other side of the tire onto the rim (this is easier if you start on the side opposite the valve stem). Stop once you have about ¾ of the tire onto the wheel, leaving the rest unmounted (you’ll use this opening to add your sealant).

Step 4: Add your sealant based on the manufacturer’s directions. Then, push the remaining section of tire onto the wheel to close the opening, being careful not to spill any sealant.
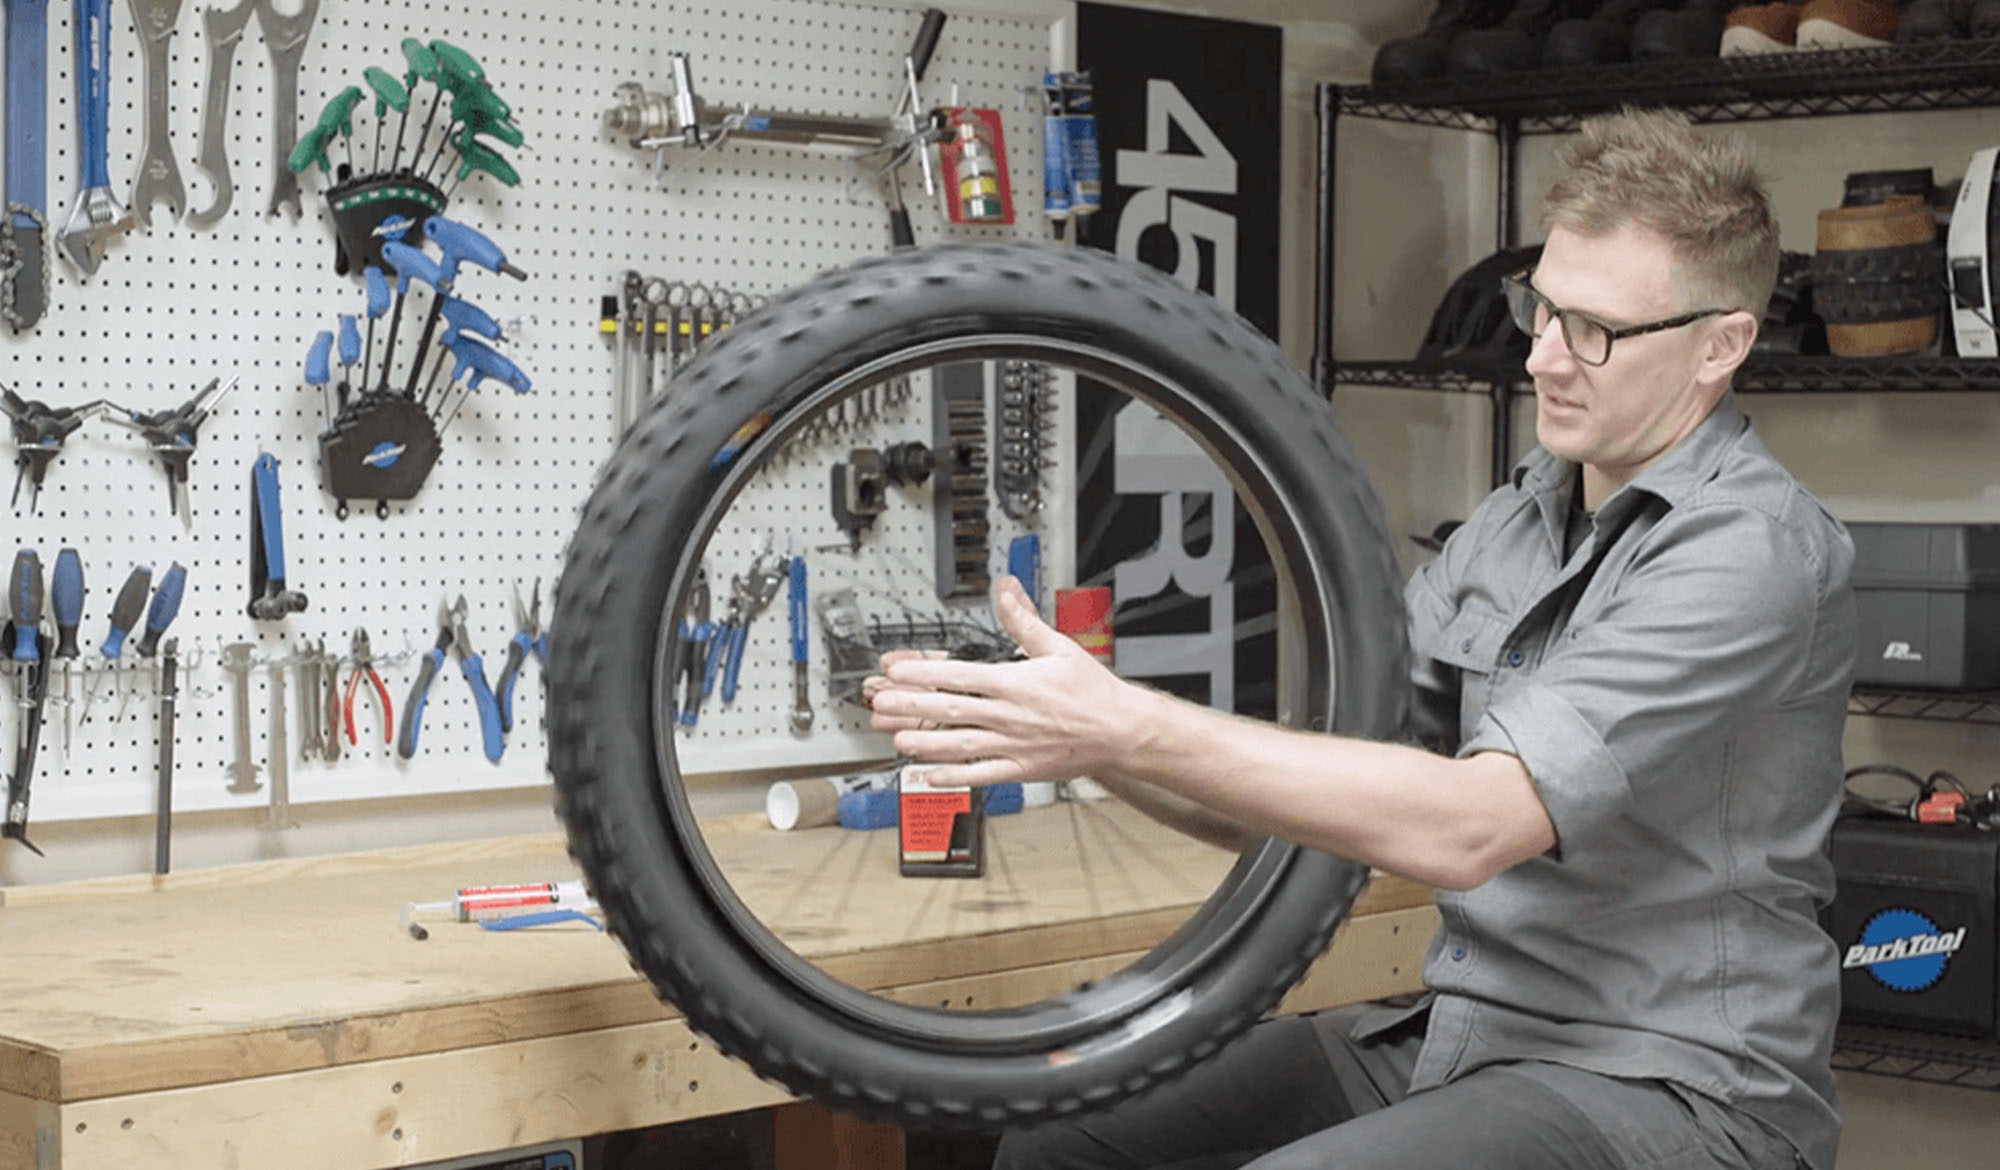
Step 5: Once both sides of your tire are on the rim, spin the wheel gently a few times to let the sealant coat and lubricate the inside rim wall (this will make inflation easier).
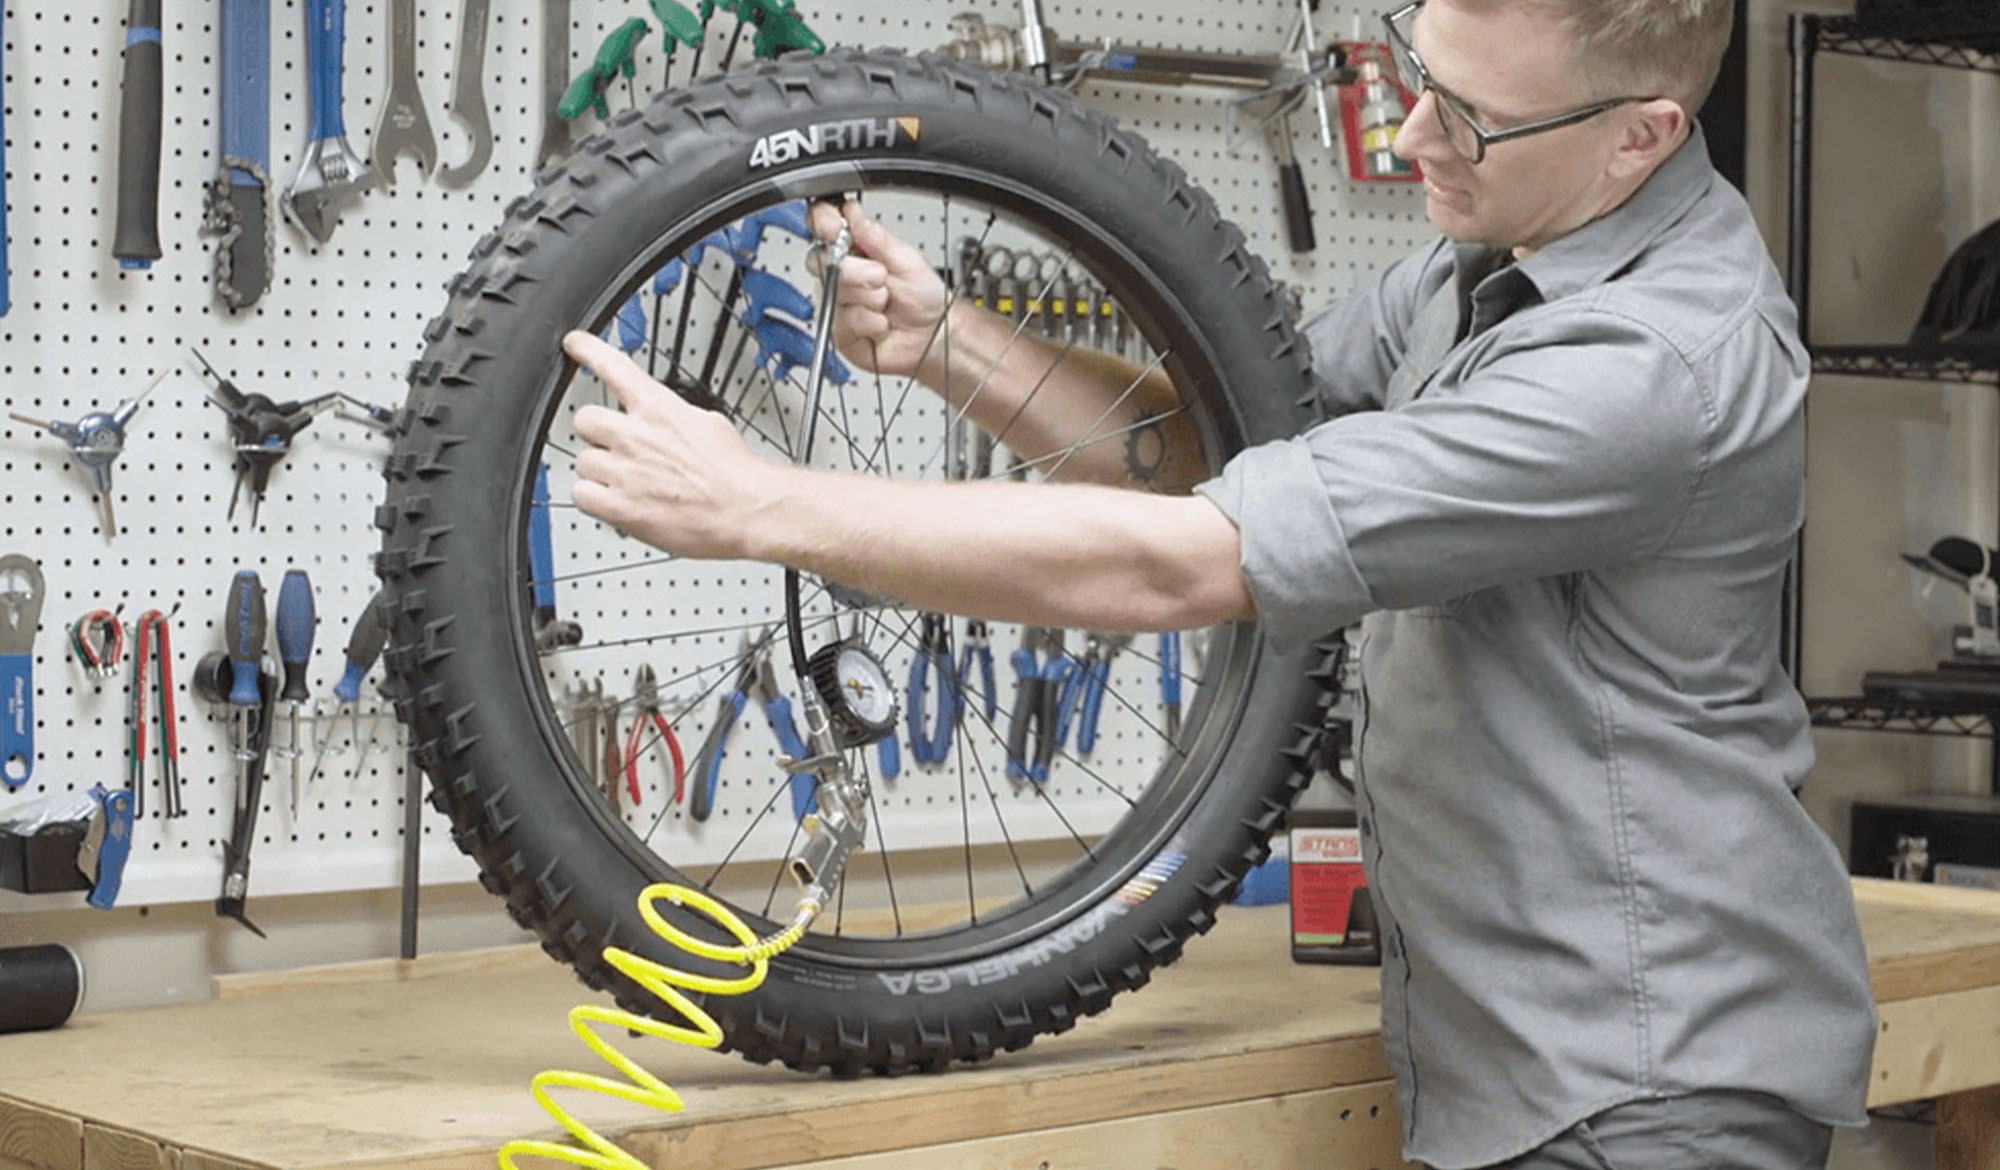
Step 6: Now it’s time to inflate the tire. Using a compressor, add air until the tire starts to seat on the rim. You may hear popping sounds from your tire — this is the sound of the tire bead setting up into the bead shelf, and it’s totally normal. Continue to inflate your tire until the chafer (the line above the tire bead) sits just above the edge of the rim all the way around the tire on both sides.
Note: Avoid overinflating the tire or adding too much air too quickly. This can lead to higher air pressure than the tire was designed for and possibly cause the tire to blow off the rim, which can permanently damage the tire and cause injury.

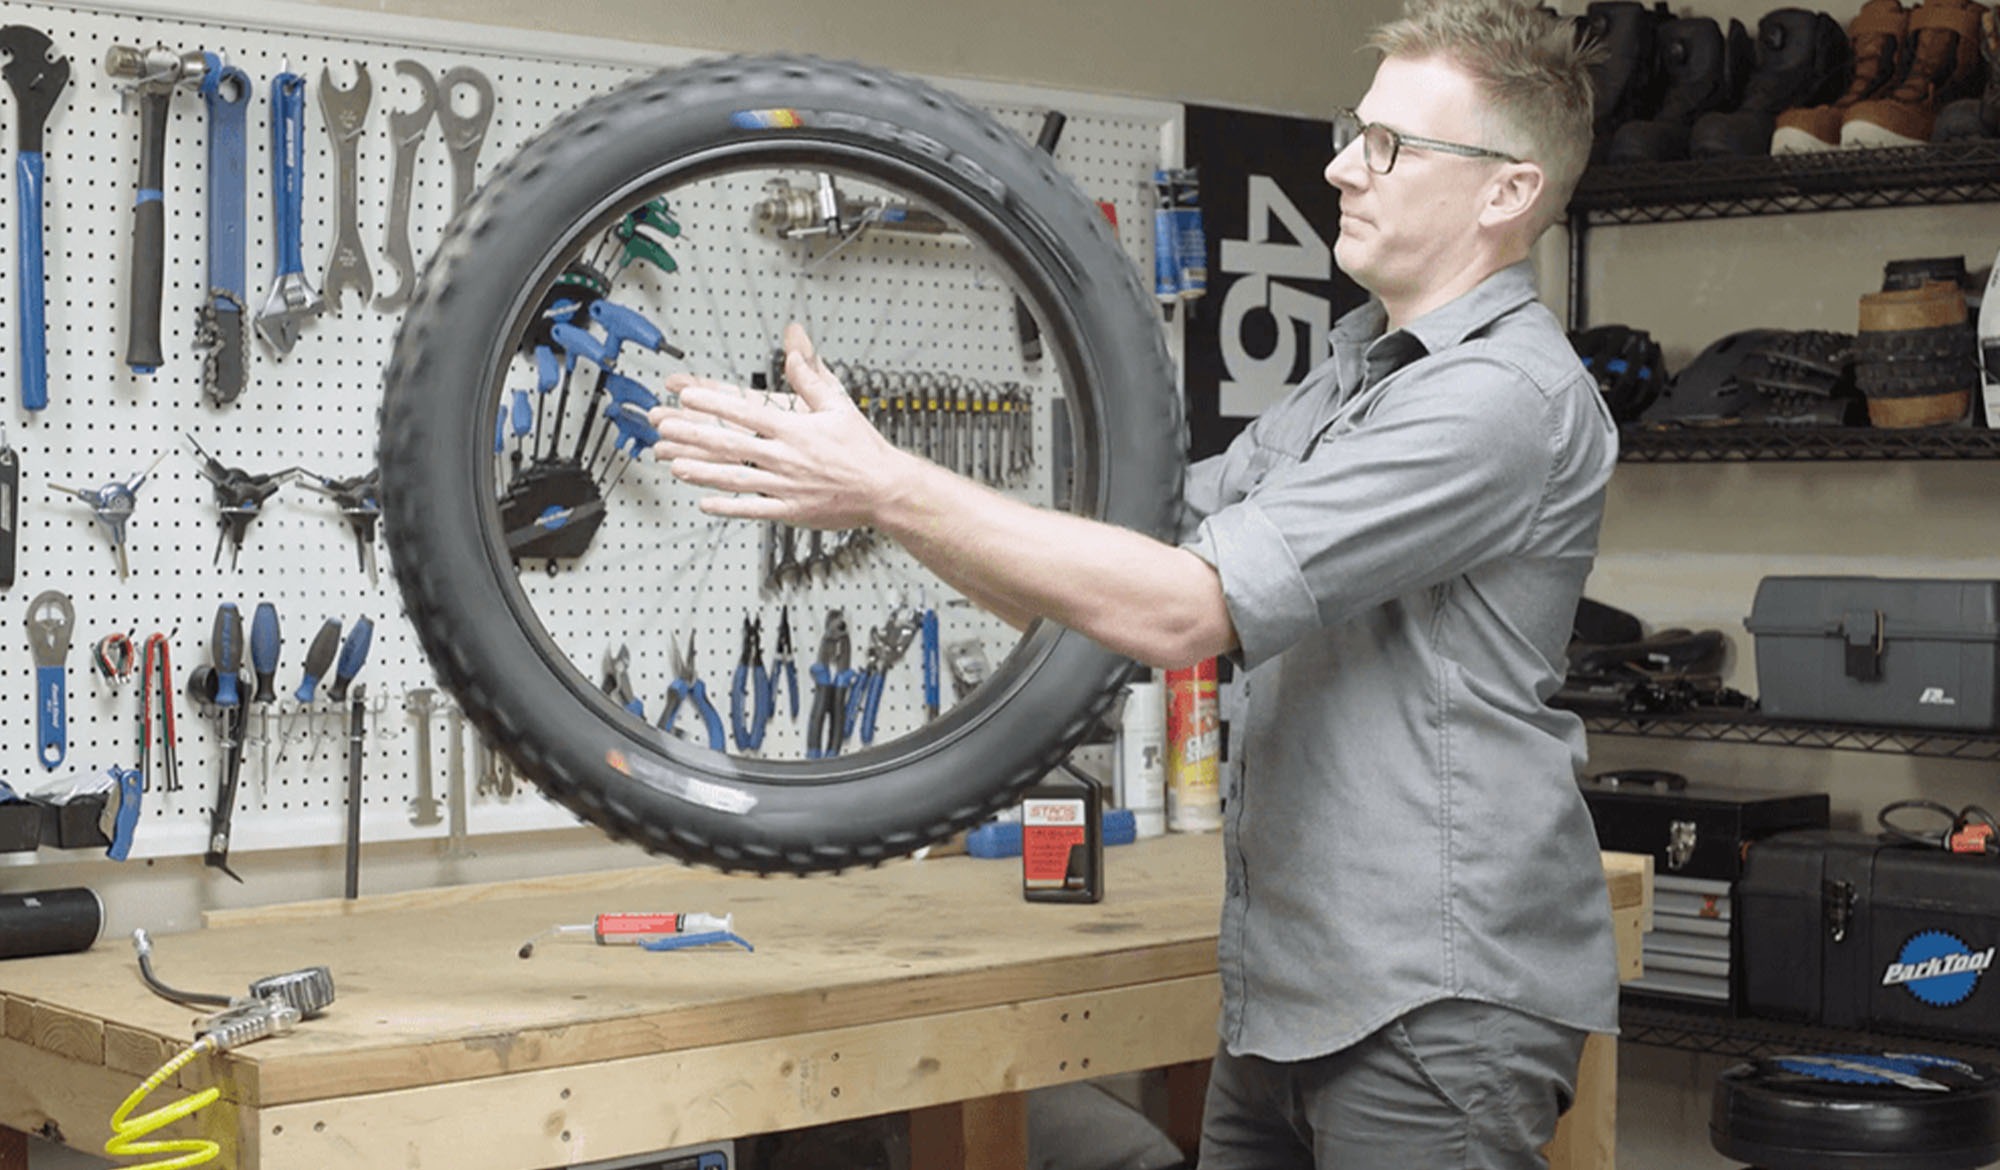
Step 7: Once the tire is seated, pick it up and rotate it to distribute sealant throughout the tire and rim. Release air pressure from the tire until it’s well within the recommended range printed on the tire’s sidewall.
That’s it, now you know how to set up a tubeless tire. If you don’t feel confident about any of the steps listed above, your local bike shop is equipped to help you out. Get out there and enjoy a whole new ride experience.